1
Add a ligature to the template
Open Templates and click Add ligature (symbol combination).
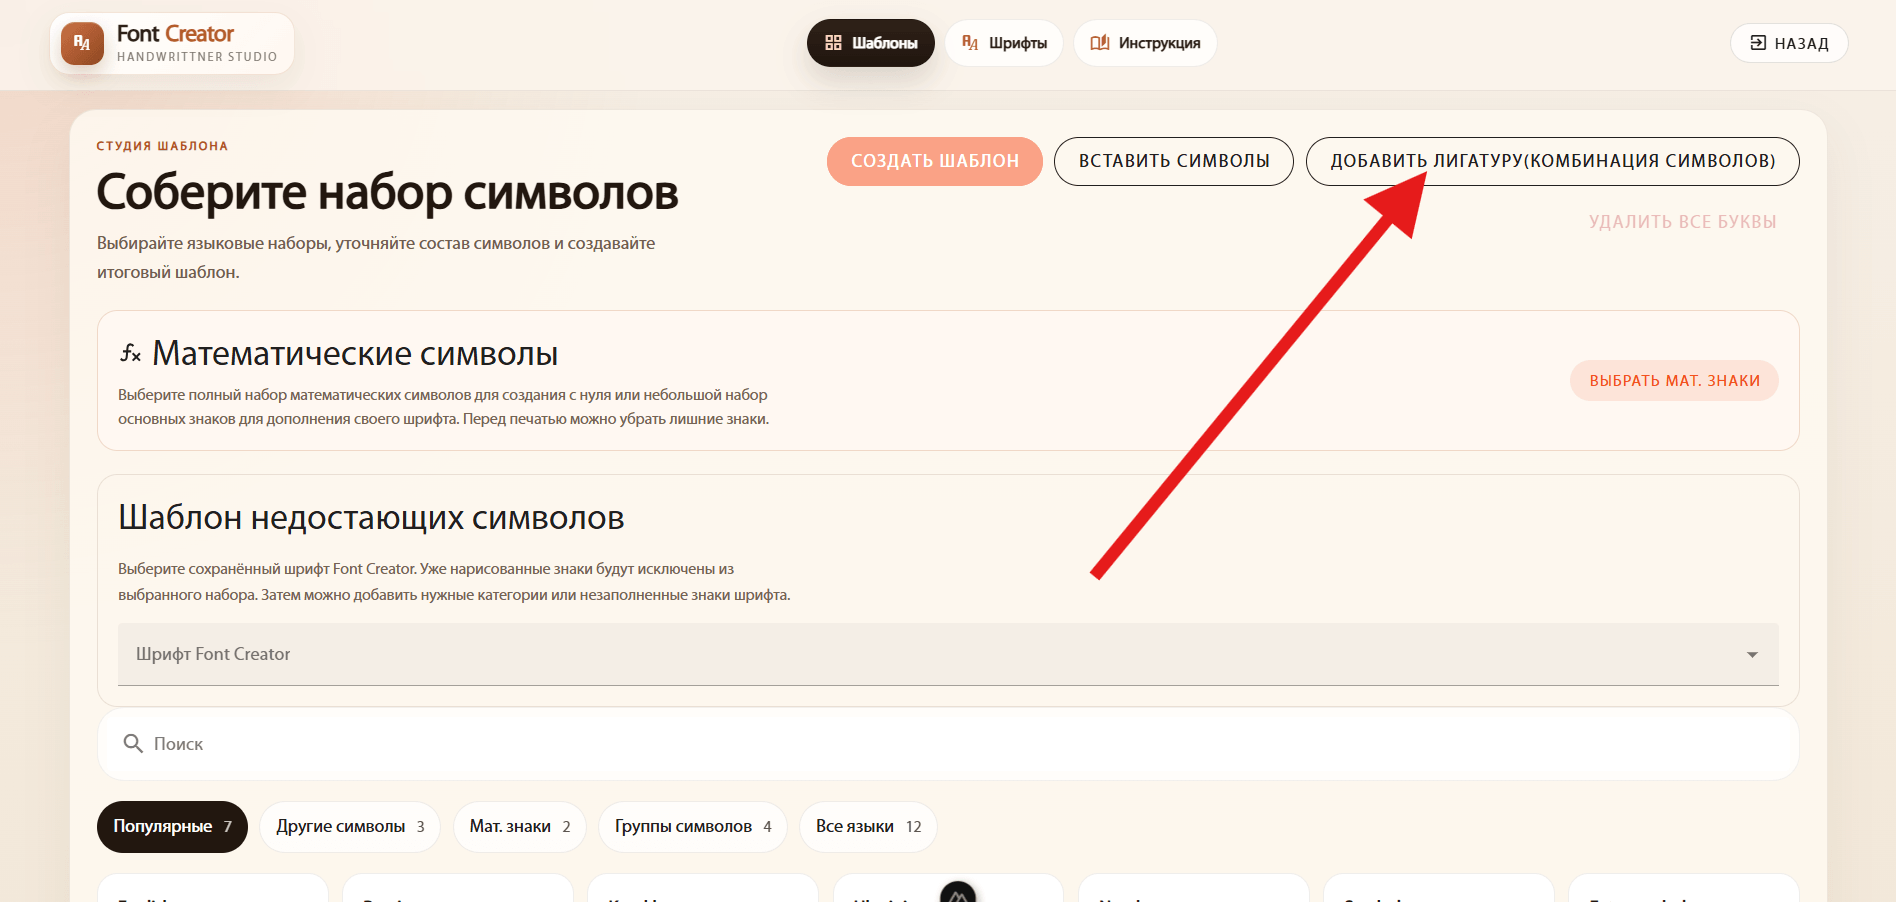
A ligature is a single drawing of a sequence such as st or th. Draw the combination as a whole to replace that sequence in text.
Open Templates and click Add ligature (symbol combination).
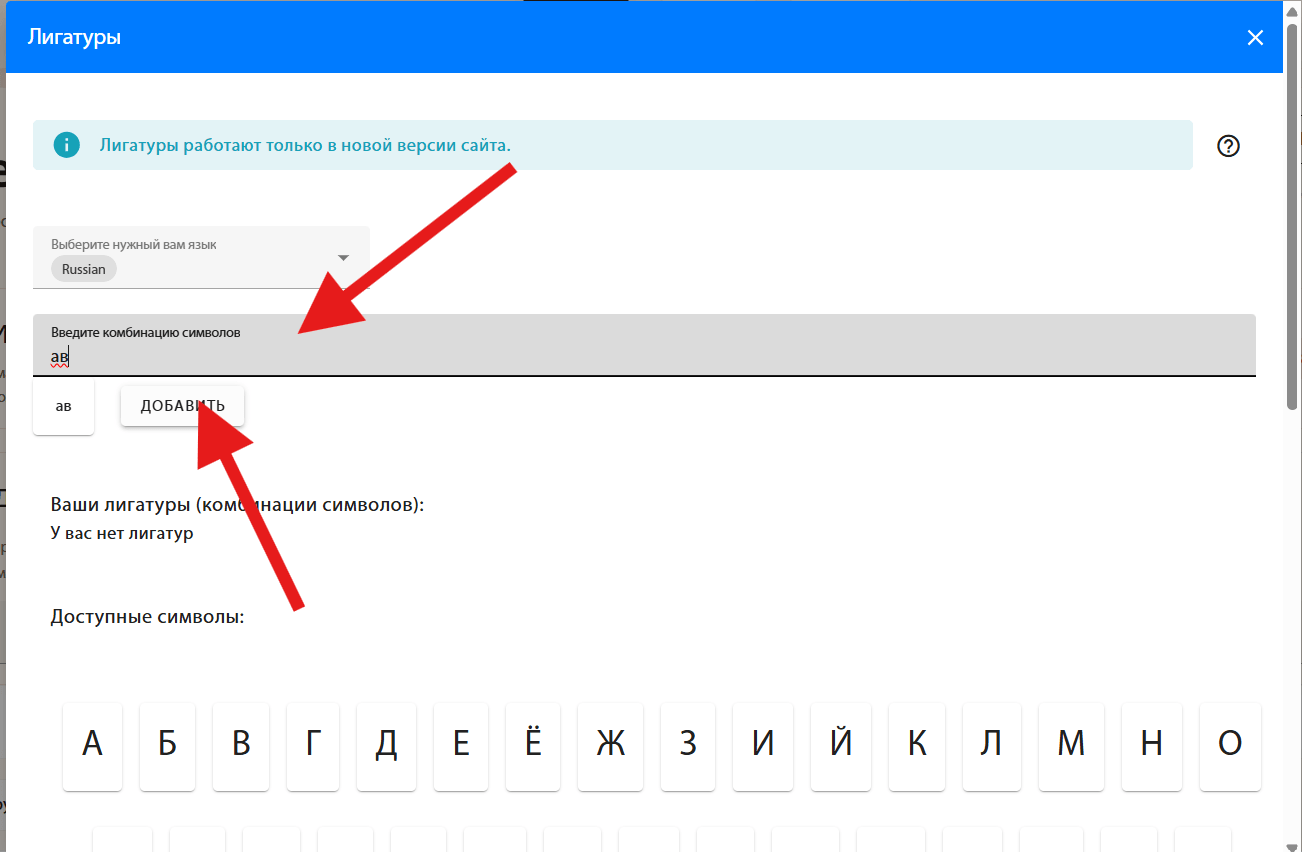
Choose a language. Type the ligature or build it by clicking symbols, then click Add.
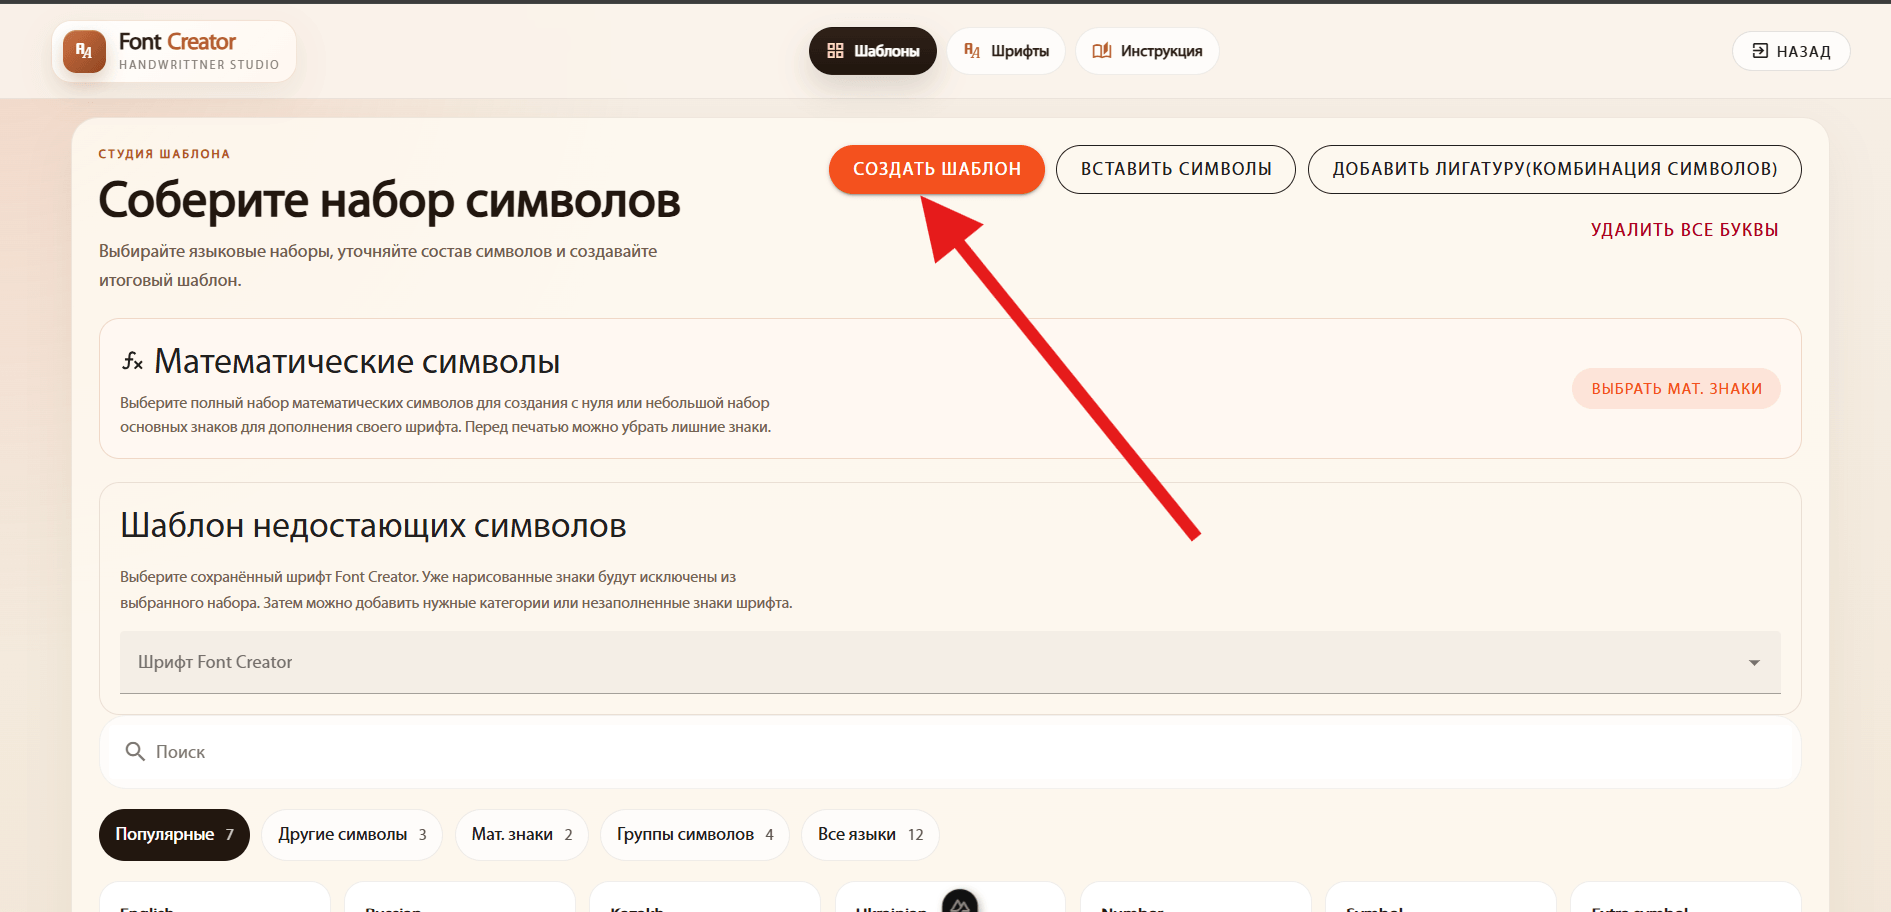
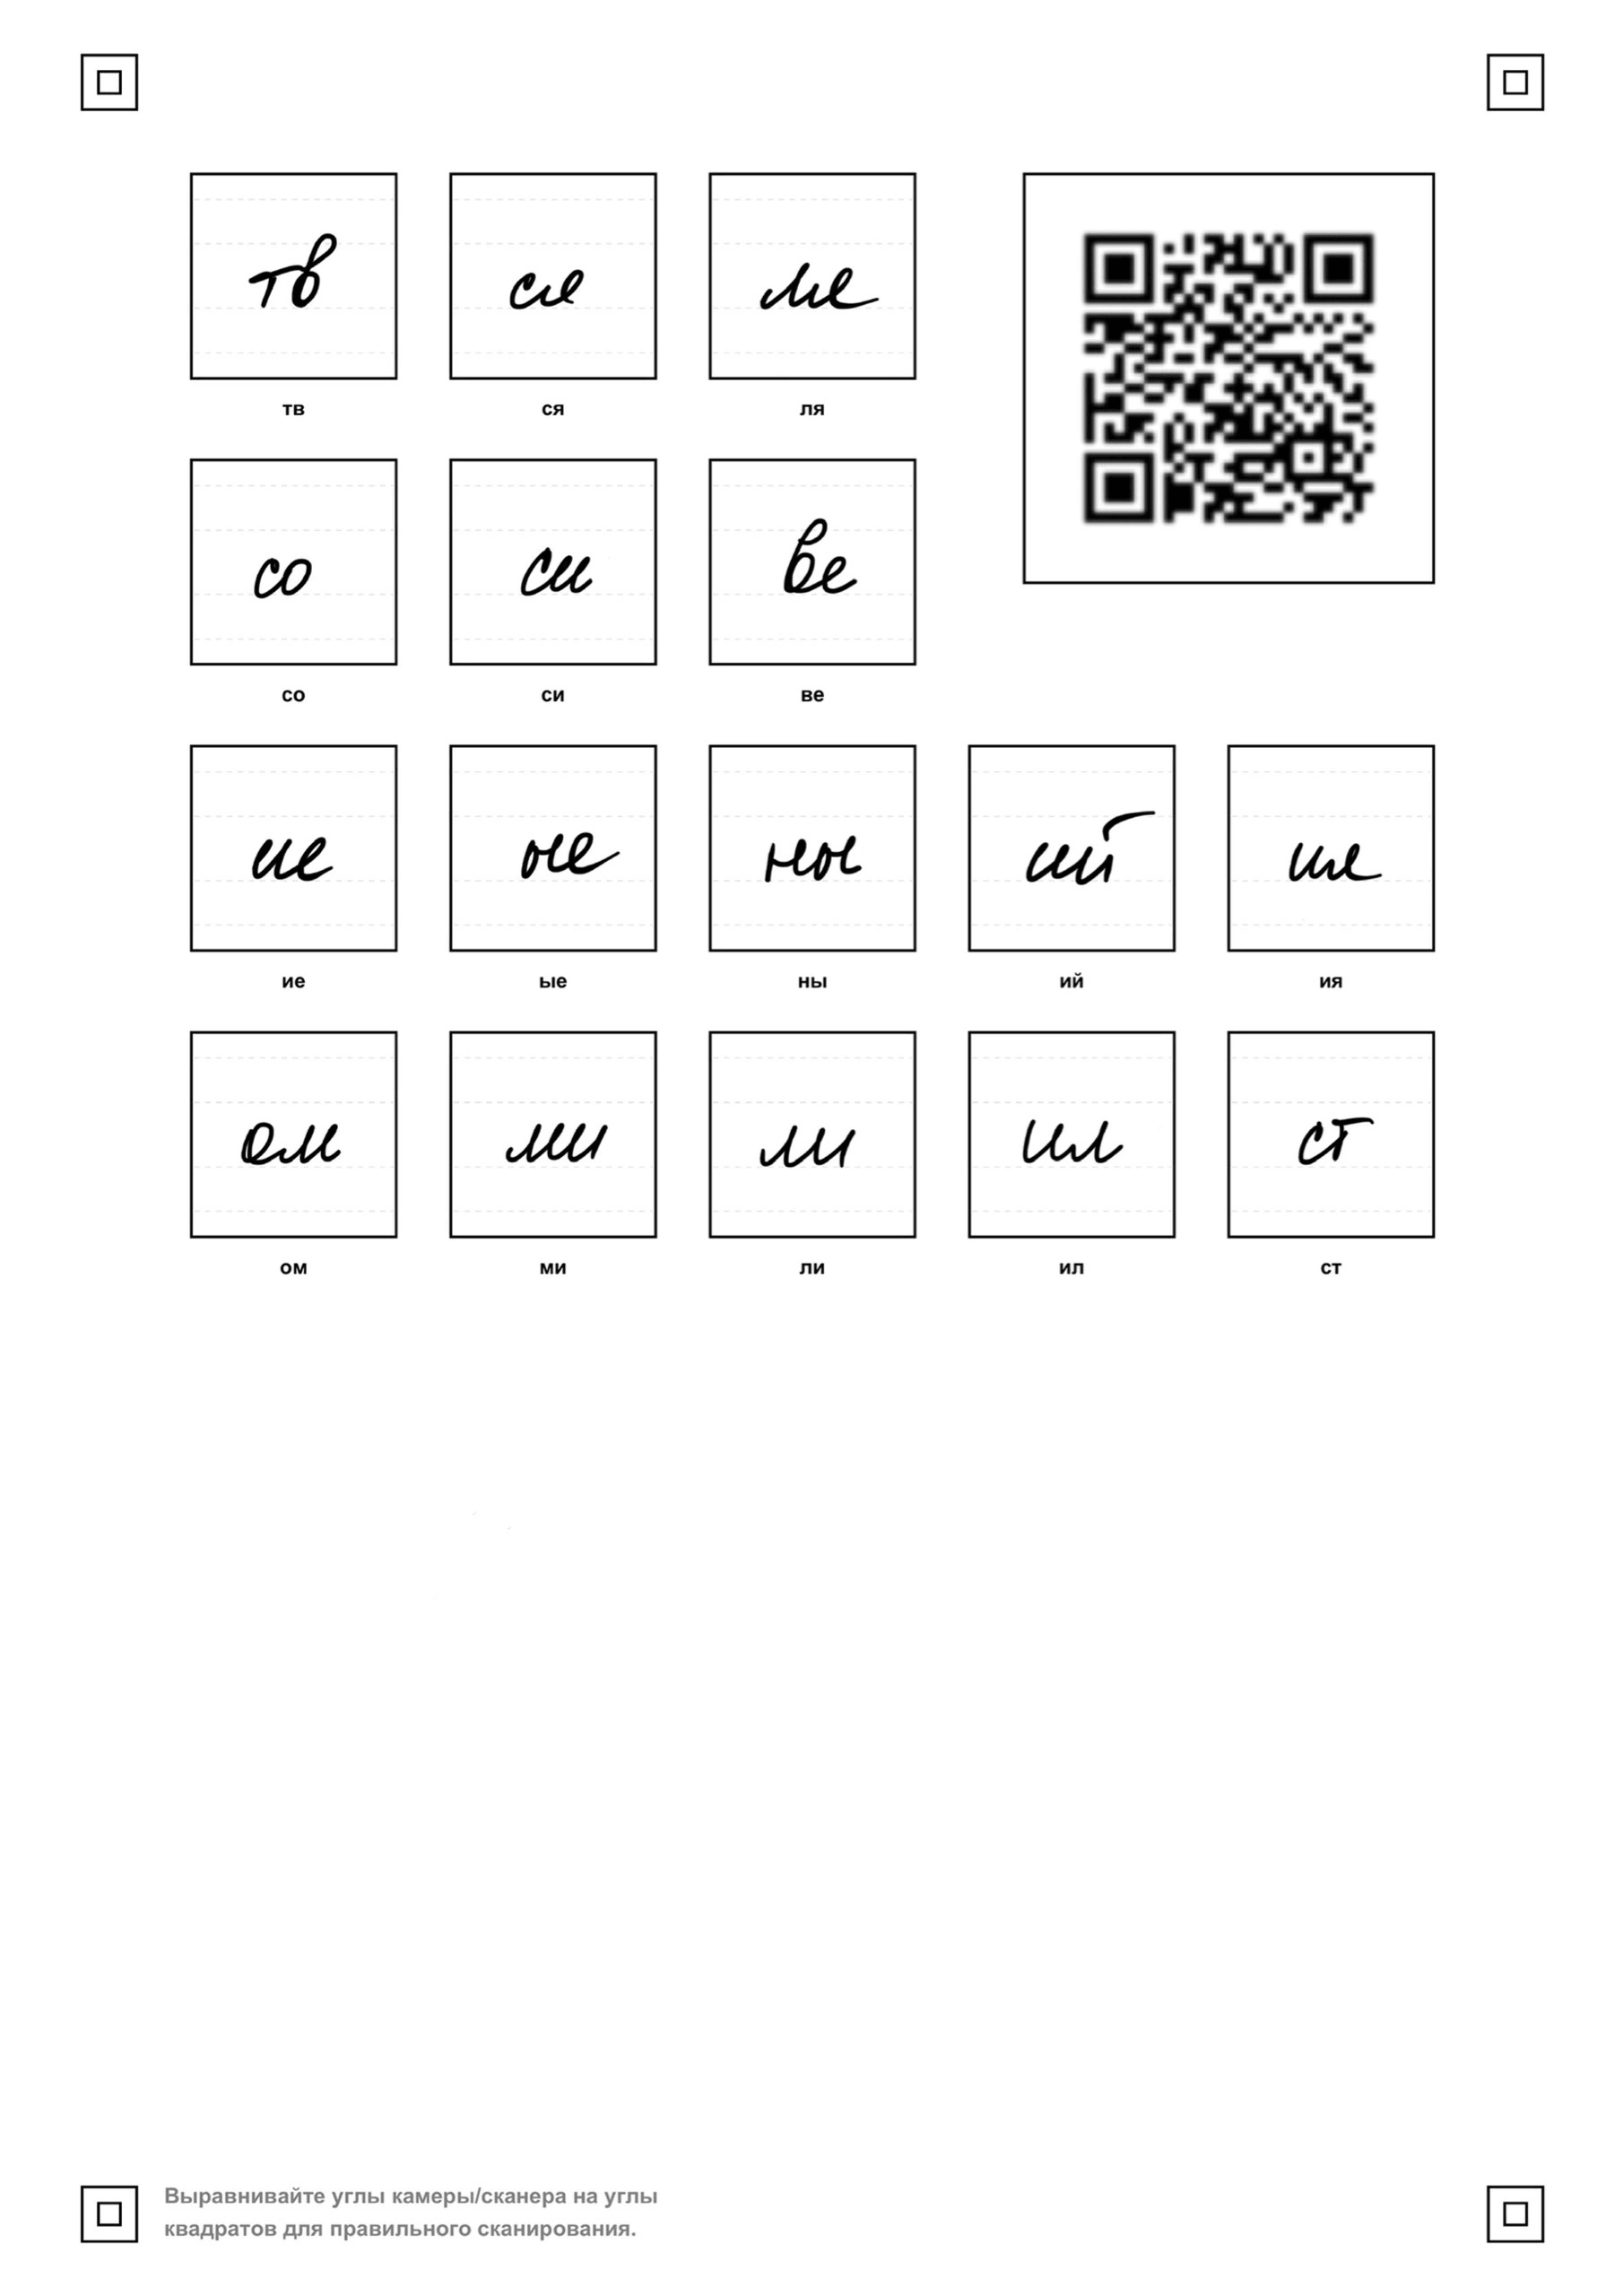
Click Create template, download the sheet and print it. Keep the original print scale and do not crop the corner markers or QR code.
Write each ligature as one connected combination in its own cell. Avoid the borders. Photograph or scan the sheet with the corner markers and QR code visible.
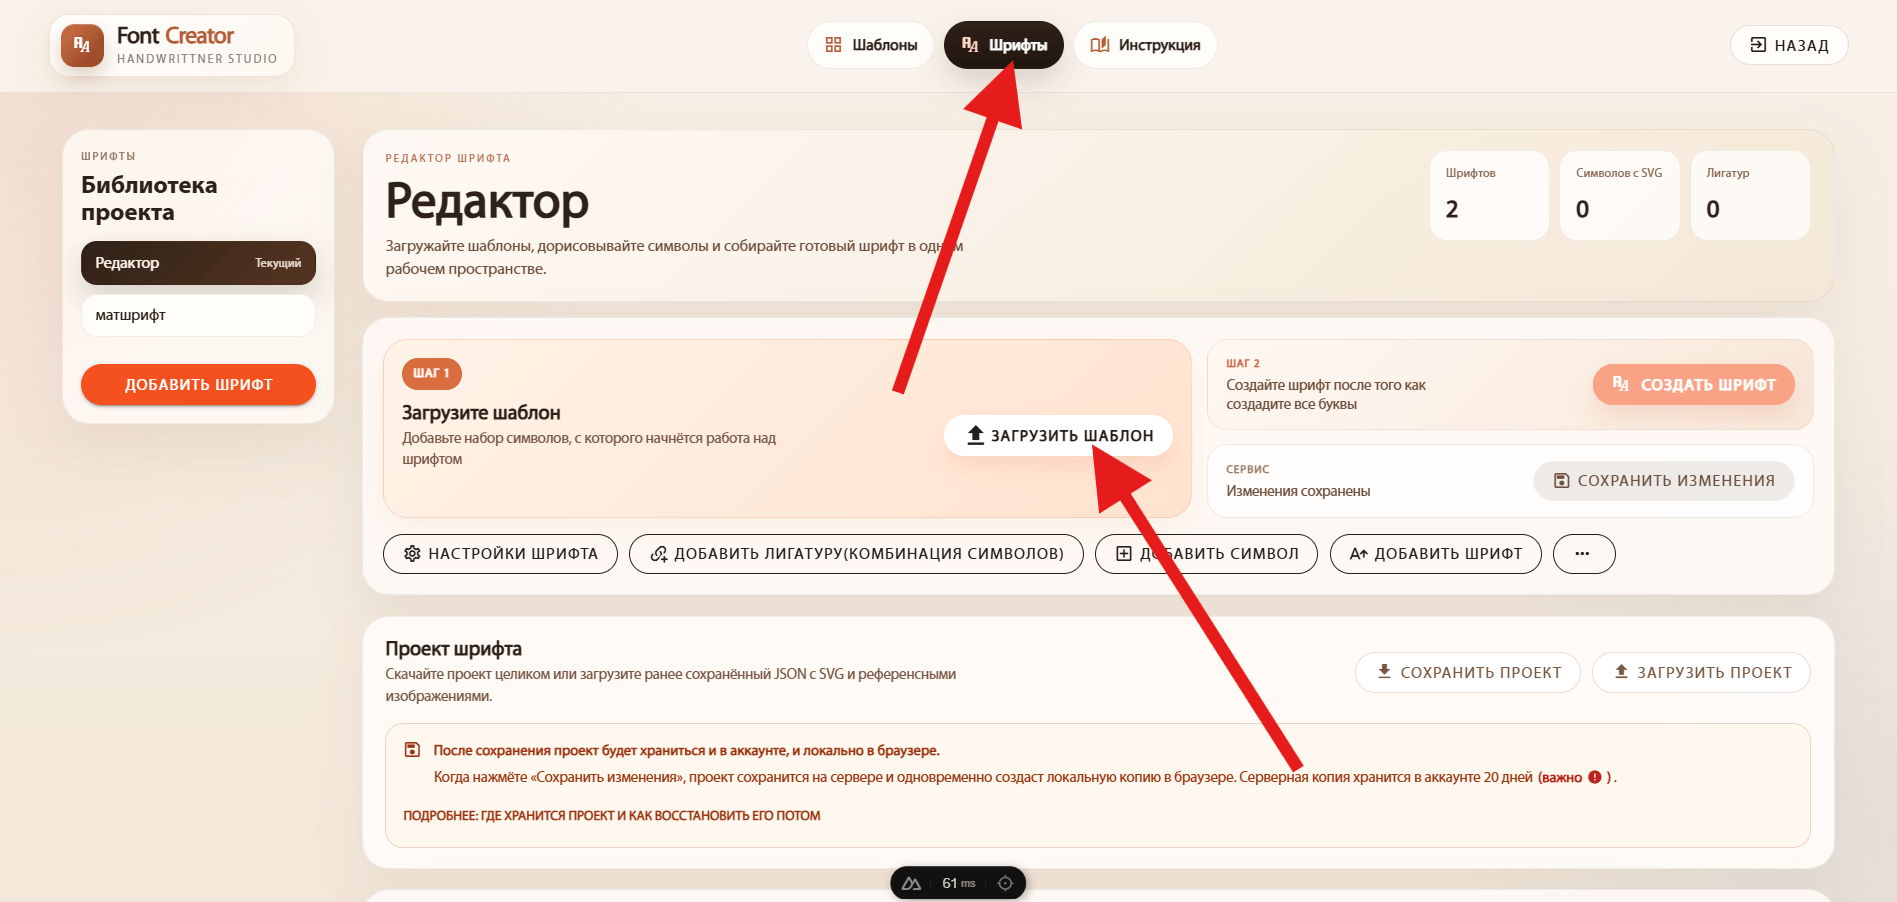
Open Fonts, choose your project and click Upload template. Create a project first if needed. After processing the sheet, review the symbols and save them to the project.
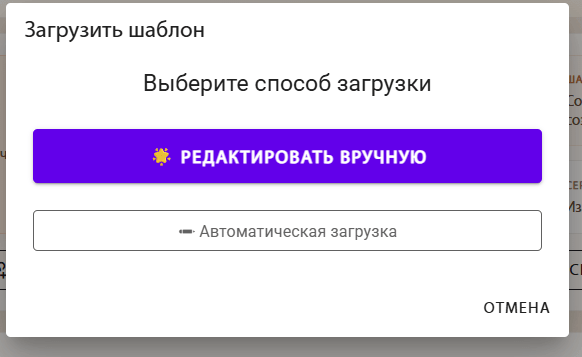
There are two methods. We recommend Edit manually so you can inspect the image and adjust processing before creating the symbols.
Opens the image in an editor where you can inspect detected cells, adjust processing, remove background noise and preserve fine strokes. You do not need to redraw every letter.
Start with this method, especially for photos.Select one or several sheets and process them with automatic cell detection. This is useful for clear, evenly lit templates. Review the results before saving.
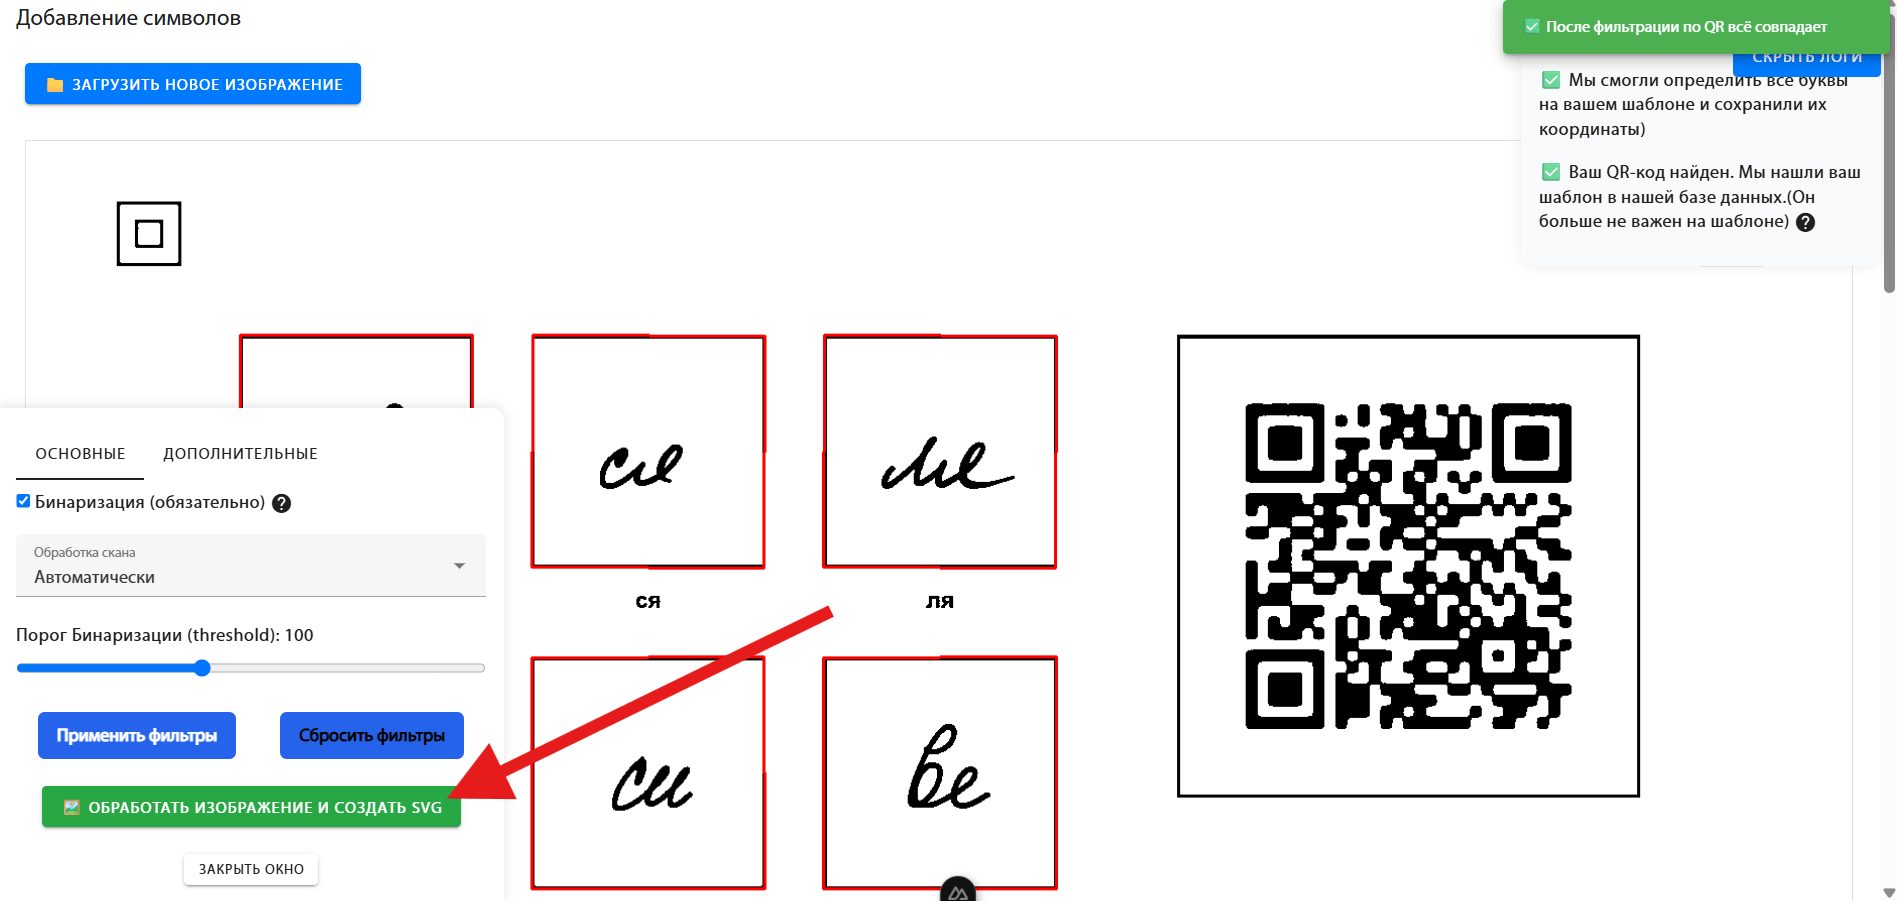
Upload your photo or scan. Check that the cells are detected correctly and that the letters are clear without missing strokes. Adjust the filters if needed, then click Process image and create SVG. Review the results and save them to the font. SVG is a vector outline that you can edit without losing sharpness.
If a letter looks uneven or does not fit its neighbours, open its card in the project. You can correct the drawing, edit SVG points, adjust spacing and set kerning. Save the letter after editing.
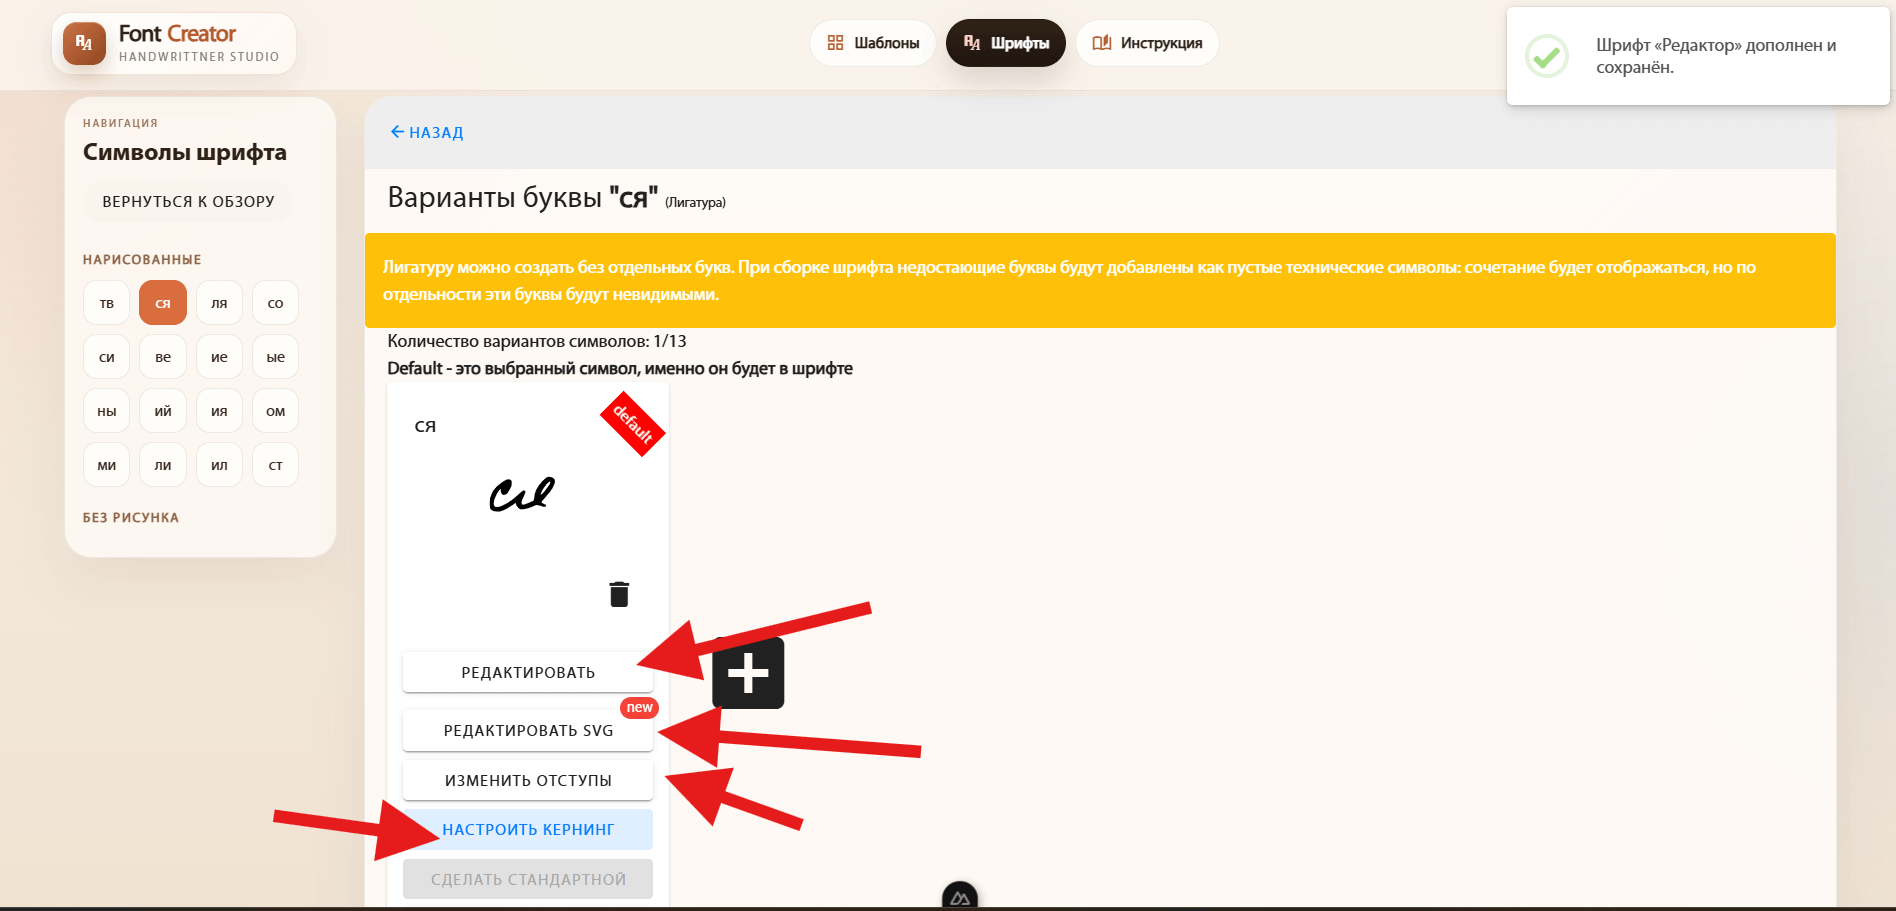
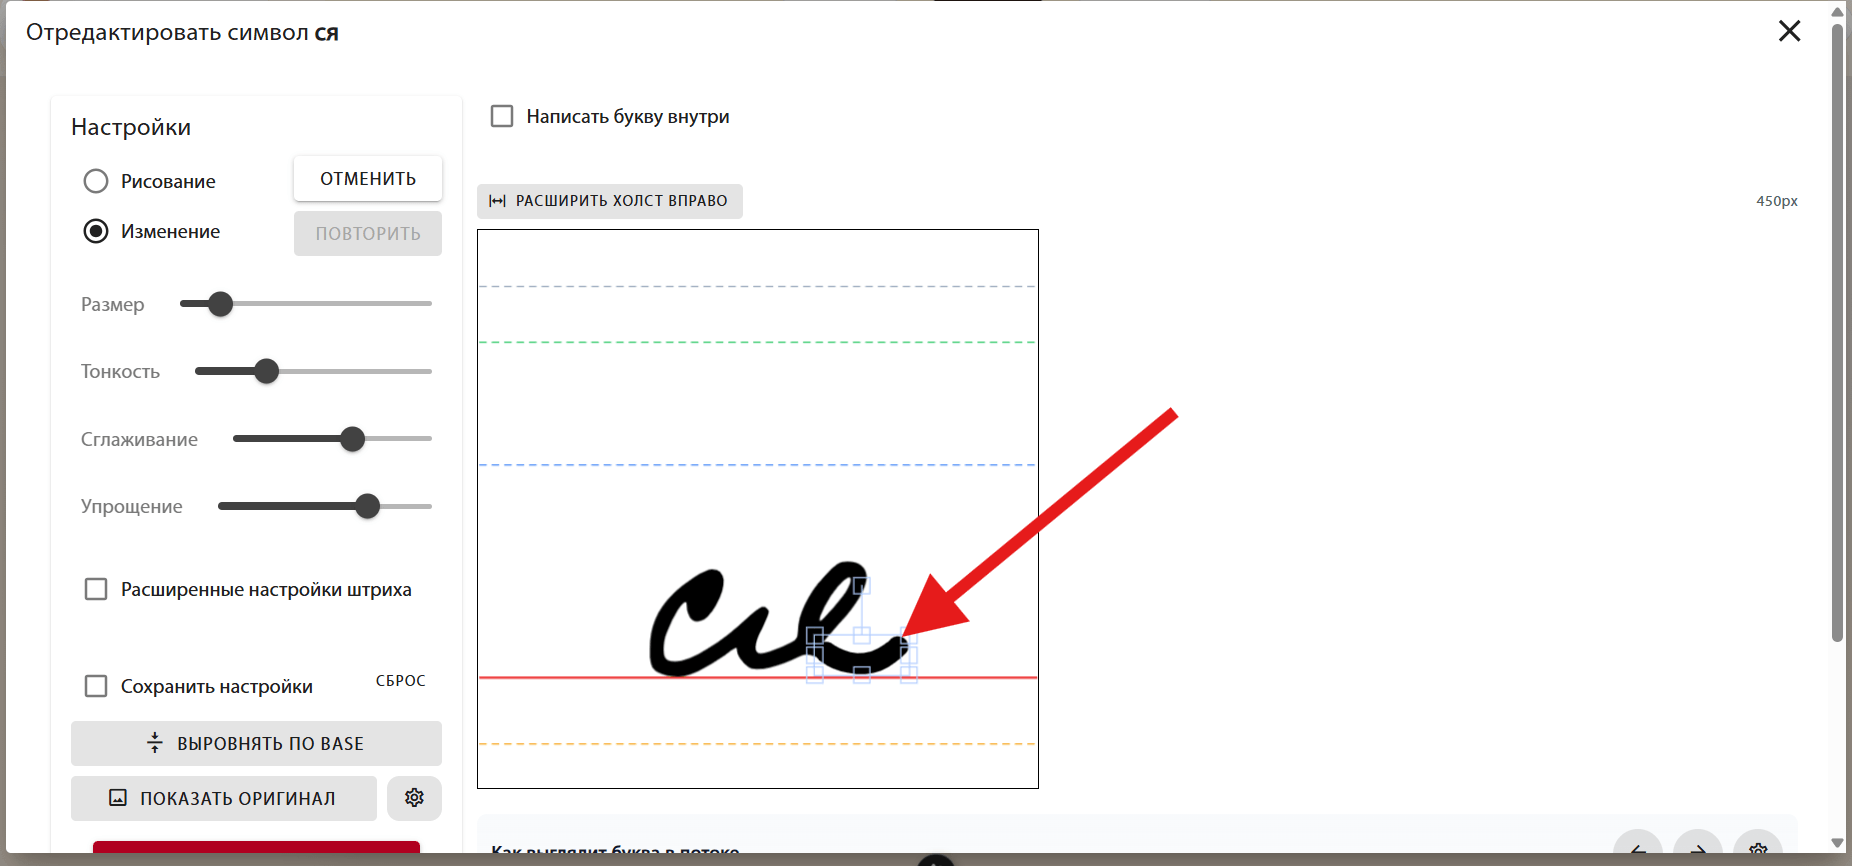
Edit opens a canvas where you can add a stroke, remove unwanted marks or correct the letter shape. Use it for small fixes after recognition.
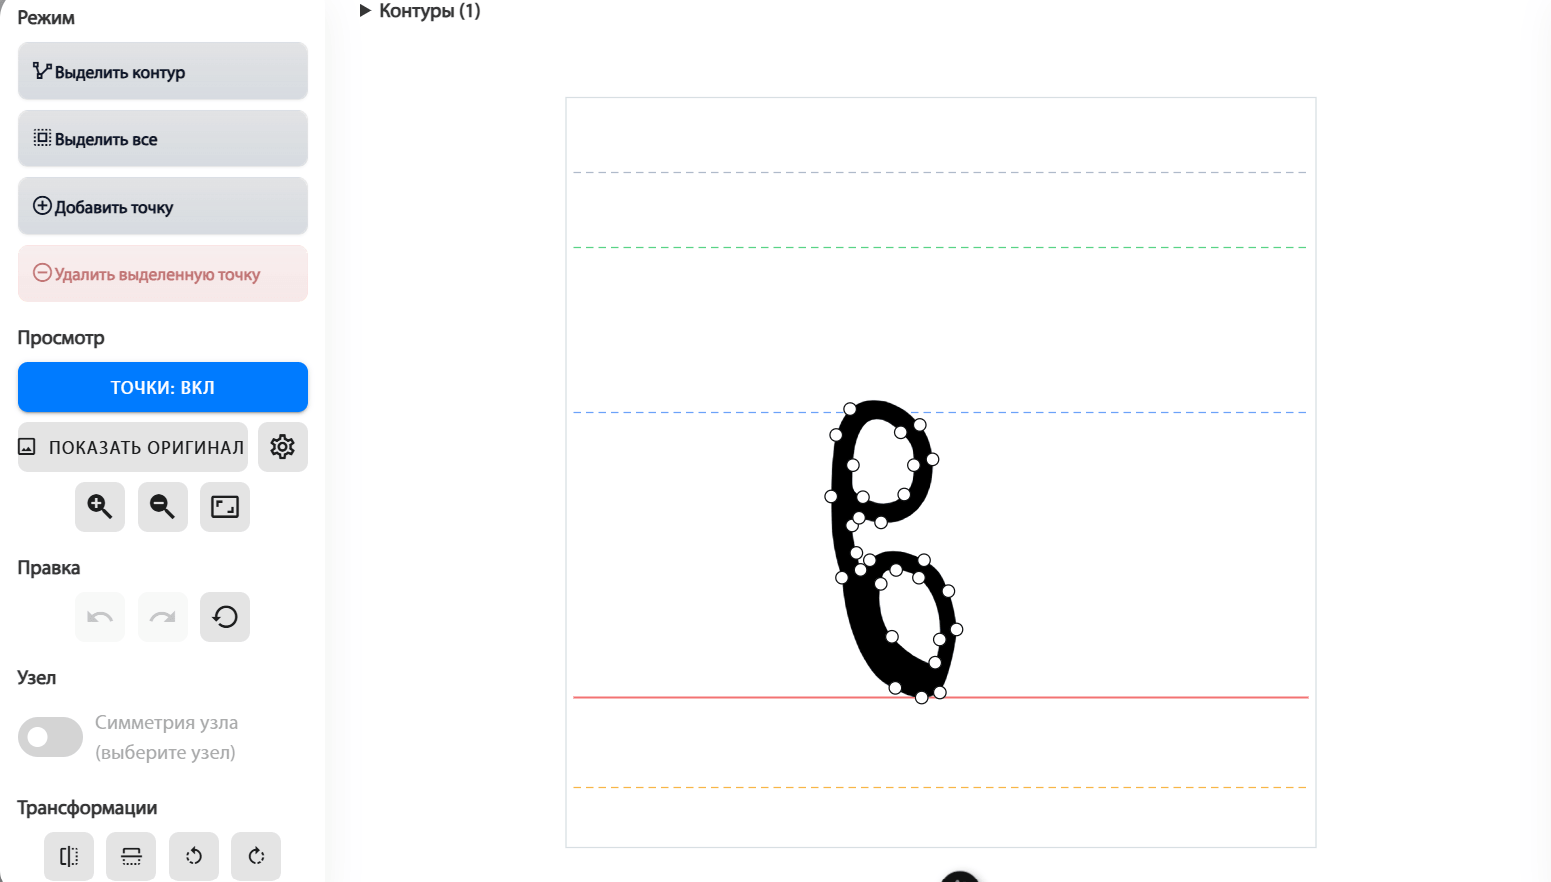
The outline consists of points connected by lines. In Edit SVG, move points and handles to smooth a curve, remove bumps or refine the shape.
Left and right spacing control the space around a letter. Reduce it if letters look too far apart, or increase it if they touch. Vertical positioning helps align the letter with the text line.
.png)
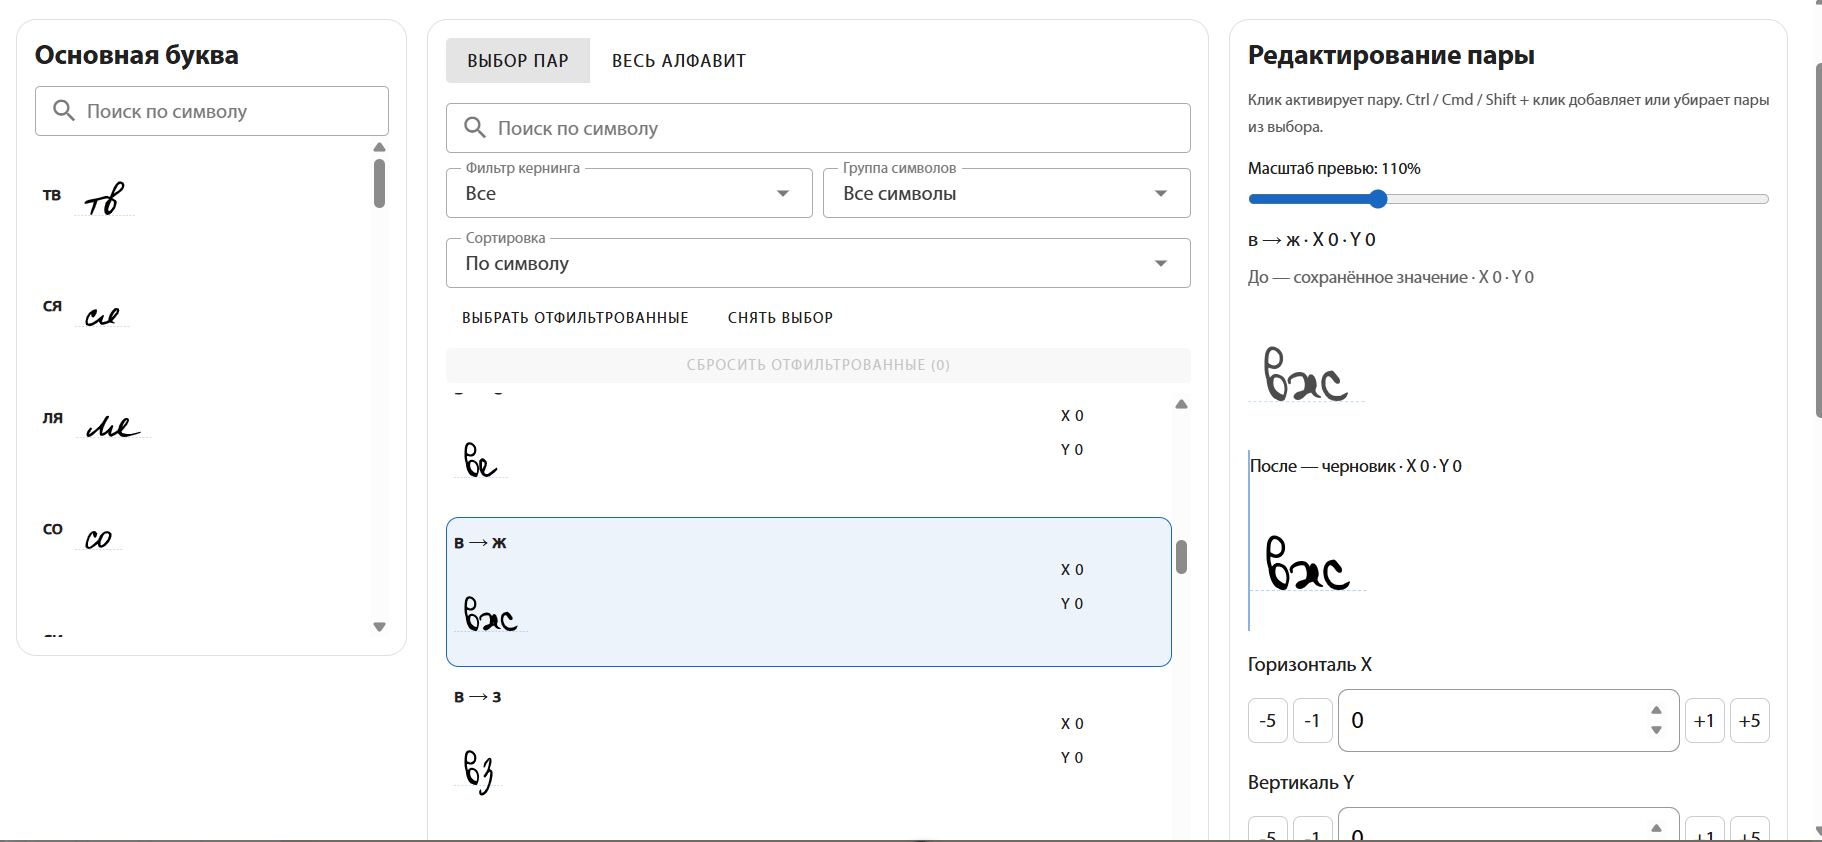
Kerning adjusts the distance between a specific pair, such as AV or To. Use it when general spacing looks right but one combination is too tight or too loose.